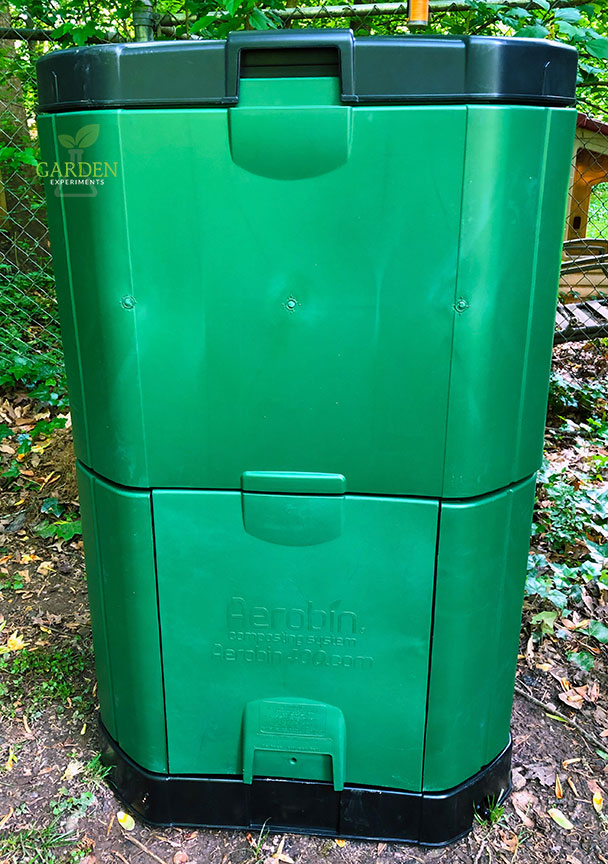
If you’re looking for a large, sturdy, insulated composter, the Aerobin400 Composter fits the bill. It is 47 inches tall by 29 inches wide and can hold up to 113 gallons of compost! And since it is aerated, you don’t have to turn the compost.
Why Compost Yard Waste & Kitchen Scraps?
Composting kitchen scraps with leaves and other yard waste creates excellent mulch for your garden. Compost adds nutrients back into the soil and also helps the soil retain water. Composting yard waste and kitchen scraps also reduces the amount of trash you put out on the curb. It’s a win, win situation.
You can compost by creating a simple pile of scraps from your kitchen and leaves from your yard. You’ll need to aerate it by turning it a couple of times a month, and it will need moisture. So if you aren’t getting adequate rain to keep your compost pile moist, you might need to add water.
This content includes affiliate links. I get a small percentage of the sale for purchases made through links in this post at no cost to you. I use each product I review and only recommend those that I like and have worked well. Read my disclosure for more information.
Why I Bought My First Aerobin Insulated Composter And Then A Second One
I wanted to keep composting yard waste and kitchen scraps, but I wanted something that looked nice in the yard and didn’t attract animals. We’ve even had raccoons digging in the compost pile.
I bought my first Aerobin Composter in 2013 and used it for about two years. When I moved from Mississippi to Georgia, I gifted it to my father, who is still using it. It was just too dirty for me to want to pack in with all my household goods for the move.
There was no garden at my new home, so I had to prioritize which products I bought first. So I only used a bare-bones compost pile for the first few months. That was until I discovered that our two dogs were digging in it and eating the compost. Yuck!
I went in search of a new composter. After reading many reviews, I decided to purchase another Aerobin Composter. My first one worked well for me and still seemed to have the most features and best reviews out of the bunch.
Aerobin 400 ComposterAerobin 400 Insulated Composter Review
After using the Aerobin composter for several years, I can say that I really like it. I put kitchen scraps, shredded paper, and yard waste in my Aerobin. (I also have an open-air compost container for leaves and sticks.) It works great for our family of 5 and will provide me with excellent mulch for my raised vegetable beds.
PROS OF THE AEROBIN 400
- It’s easy to access the mulch. There are two doors that allow you to directly access the inside of the composter.
- No need to turn the mulch to aerate it. It self-aerates with two aeration cones in the center of the bin.
- It’s relatively attractive (well, it is more appealing than most composters)
- Animals can’t get into it – the dogs haven’t eaten any trash in weeks!
- Easy to assemble
- Quickly makes mulch (3-6 months depending on what you put in it and the outdoor temperature. Even in winter, mine produced compost)
- Low maintenance
- It’s sturdy
- It’s insulated which can increase the months in which you can create compost
- Very little odor, if any (trust me, I have a nose like a dog)
- Produces lots of mulch in warm temps, slower during cold temps
- You can siphon out compost tea for use on your plants, if you want. If you do want to do this, you might want to raise the Aerobin up on some blocks for easier access to the spigot.
CONS OF THE AEROBIN 400
- It’s not easy to move after it’s put together. You will have to disassemble it and reassemble it rather than move it all at once.
- Have to be careful when placing access panels back that they are firmly in place
- It’s pretty tall, making accessing anything on the inside from the top hard to do without a ladder
- It’s not cheap, but it’s a good investment that lasts for years.
How to Assemble the Aerobin Composter
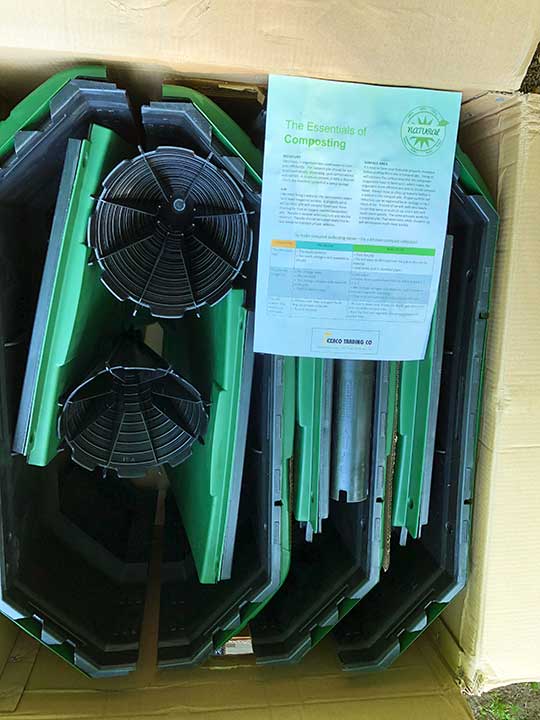
I received two large boxes via UPS. They sat around in my garage for a week before I had the chance to put the composter together.
The instructions in the box are very clear, making assembly (even in a cloud of mosquitoes) quick and easy. The company that produces this composter also included a guide on composting and some quick tips!
A large sticker on the outside of the box serves as a reminder that the upper and lower sides have to be attached at a 90-degree angle to each other for everything to work correctly.
For anyone missing any of the many pieces, the company placed a large sticker with instructions on obtaining replacement parts or contacting them in case of any damage.


One of the more critical components of assembly is to ensure that the bin is level so that you can get the compost tea to flow out of the spigot. I used a level for this when setting the base on the ground.
Overall, the composter assembly took me about 20 minutes, including hauling away the empty boxes for recycling.
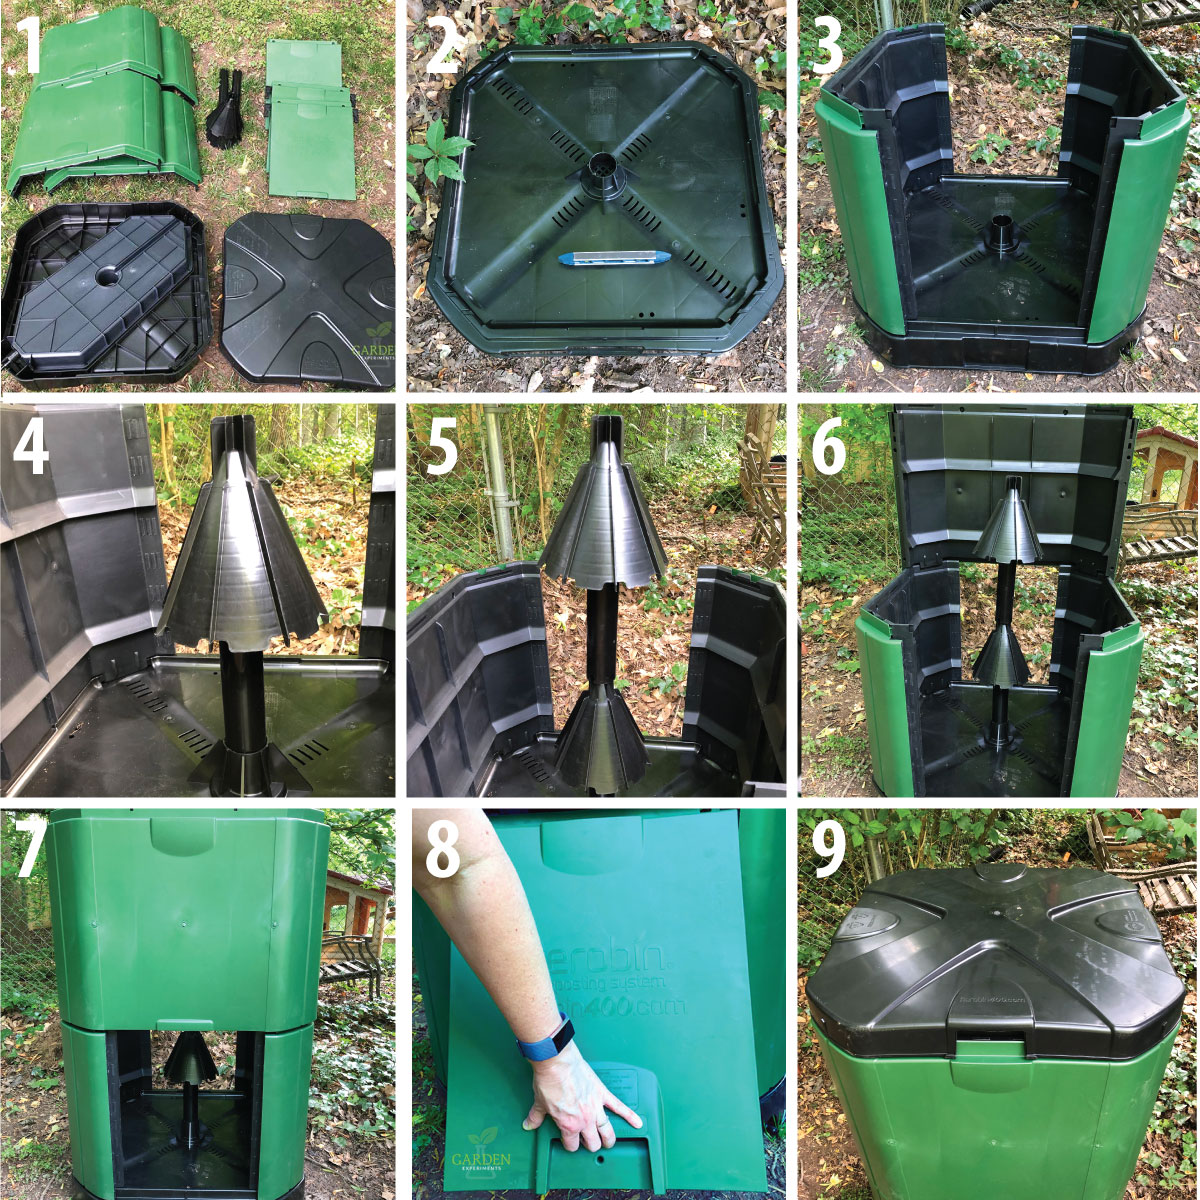
This is a pictorial representation of the steps I took to assemble the Aerobin 400 composter.

Removable Side Access Doors
There are two access panels on the sides (or front and back, depending on how you place it) of the bin. They are very easy to remove making getting compost out of the bin very simple and easy.


Putting them back on is relatively easy, though I have found that they have fallen open once or twice. The trick is to pay more attention when you put them back in place and ensure they are firmly in place.
When digging composted material out of the side panels, be careful not to hit the center aeration cone. This cone allows air to enter the center of your compost, allowing it to decompose quickly.
When you’re busy scooping out composted soil, it’s easy to hit the cone with a large shovel, so try using a smaller hand shovel or narrow spade for safety.
Dimensions
This bin is 29”x29”x47”. You’ll need to set it on a level (and slightly elevated) platform if you plan to get the compost tea from it. We set our first one on concrete blocks to raise it off the ground. For the second one I put together, I used materials found in our yard to level it as best as possible.
Buy the Aerobin 400 ComposterRecommendations and Composting Tips
I recommend you assemble the Aerobin close to where you will permanently place it. It’s pretty unwieldy. If you have already put it together, use a dolly to get it where it’s going (but make sure it’s empty!)
Start out with some composted material in the bottom of the bin. This will help get your composter started. Then start adding your kitchen scraps (vegetable parts, egg shells, coffee grounds, etc.) and yard waste.
If your compost starts to get too wet, add in some newspaper (not the shiny pages) and/or straw. Try to mix it in with your compost. If necessary, you might have to remove the composting material, start with newspaper, and then layer it between compost material.
Adding Weeds to your Composter
If you put weeds into your compost pile, as we do, make sure there aren’t any mature seeds on them, or you’ll be spreading this around your yard when you use the mulch.
Killing weed seeds requires high temperatures. If you keep an eye on the temperature in your composter, you’ll be fine. But, if you just fill it and forget it like me, it’s not a risk worth taking.
Adding Oak and Pecan Leaves to Your Composter
Oak leaves are acidic but should be fine to compost. Chopping them up before adding them to your compost pile can speed up decomposition. Although pecan leaves have a lot of tannins, if you mix them well with other materials, it should be fine to include them in your compost.
More Tips on How to Compost and What to Compost
Check this interesting article out: 75 things you can compost, but thought you couldn’t. I wouldn’t try composting much of this stuff, but some of it was interesting.
Here’s a good article from Illinois Extension Service on what you can compost and what you should avoid adding to your bin.


