Living in Georgia, our soil has a lot of clay in it. Our yard in particular has a lot of stones and broken up concrete from the activities of the previous owner.
Last year, I was desperate to grow tomatoes but I didn’t have the time to put in the work to install a proper vegetable bed, so I used very large planters. It worked pretty well, but it was hard to keep everything watered.
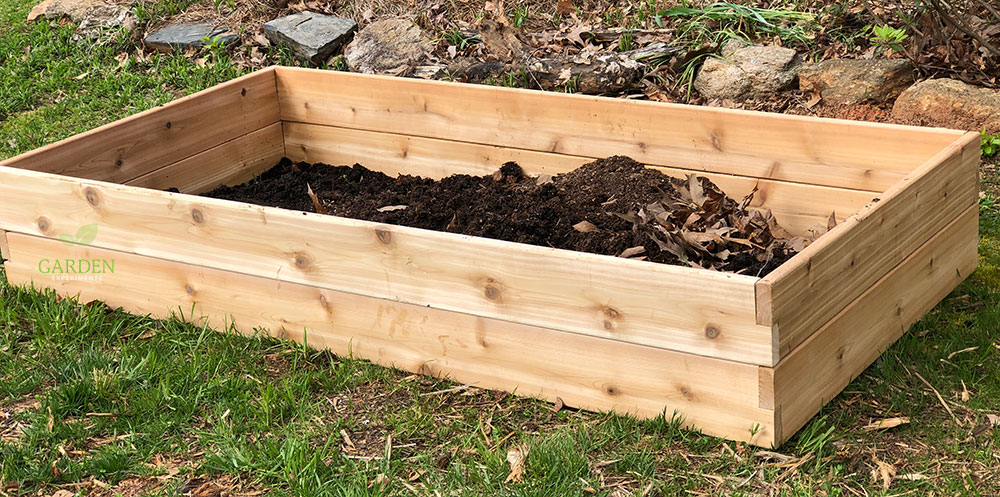
This year, I installed three raised garden beds just for vegetables.

Raised Garden Beds: a Solution for Poor Soil or Mobility Issues

So, what do you do when you don’t have an in-ground garden? Raised beds are a great alternative for those with soil issues or even mobility issues (you don’t have to bend down as far).
When you start considering using raised beds for your vegetable garden, you can build your own or go with a pre-made version. I looked at the costs between the two for cedar wood and the time it would take me to build it and opted for a pre-made version.
There are many options out there, but after careful review of reviews, shipping costs, pricing, and other factors, the Belham Living Cedar Raised Garden Bed was a decent price and had quick delivery.
I now have three of these in our yard. We have sparse areas of the yard the get full sun, so they are spread throughout.
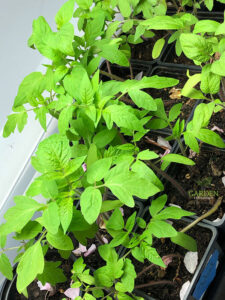
I grew my tomatoes from seed again this year. I am growing Cherokee purple tomatoes, Brandywine pink tomatoes, Juliet hybrid tomatoes, and Sun Gold hybrid tomatoes.
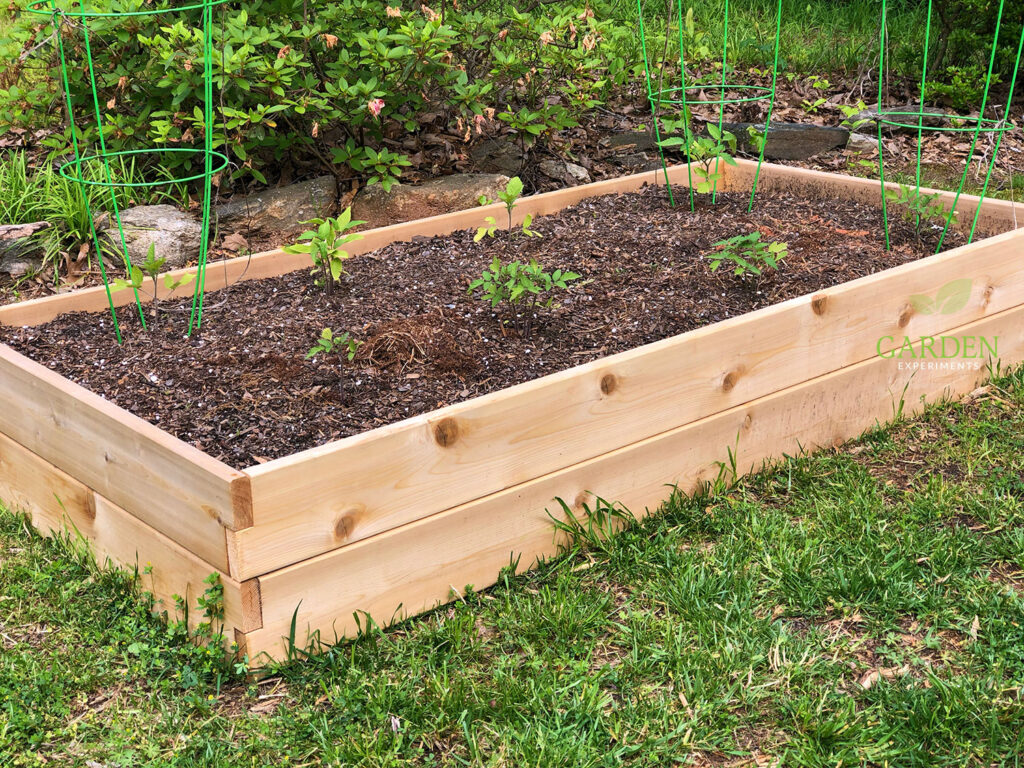
I planted tomatoes and carrots in two of these raised garden beds and tomatoes and peppers in the third. We’re growing lots of fruits and vegetables this year.
Review of the Belham Living Cedar Raised Garden Bed
Installation

This has to be the easiest raised garden bed to install. It took us about 20 minutes total to unpack it, set it up, and fill it with soil. While the instructions suggest installing it on a level surface, sometimes you have to go with what you’ve got.
This is one of the rare spots in our yard that gets full sun most of the day. So we set it up in this spot, even though it is on a slope. We planted tomatoes and peppers in this raised bed.
The assembly instructions are very simple:
- Lay down one layer of boards overlapping the corners
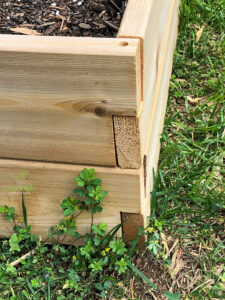
- Place the aluminum rods into the predrilled holes in the boards and push them into the soil. The rods aren’t long enough to go into the soil and extend the full height of the second layer of boards, so don’t expect them too. Just be sure to leave enough extending above the first layer of boards to secure the second layer.
- Place the second layer of boards on top of the first layer, aligning the holes so that the aluminum rods slide in properly.
- Fill with dirt.
Video of us as we assemble the raised garden bed
Watch how quickly it goes!
Dimensions
This raised garden bed is 72 inches long by 36 inches wide and has a depth of 11 inches. It’s a good size. I was able to get 8 tomatoes in each one with rows of carrots at the edge and in the middle. It might be a little tight once things grow, but with plenty of watering and some fertilizer, I am anticipating a great harvest.
While you can stain or paint the boards of the Belham Raised Garden Bed, I decided to leave mine natural.

Price
The price ranges from $189 to $220 depending on where you purchase it.
I ordered mine from Walmart, which had a lower price plus free shipping. Do some searching online to see which store is offering the best price at the time. The price seems to fluctuate, probably due to demand.
Pros
- Very easy to assemble (our kids put together two of these raised beds on their own)
- Made of rot-resistant cedar
- It’s sturdy
- Very lightweight
- High enough to hold a decent amount of soil (holds 14 cubic feet of soil)
- Made in the USA
Cons
- These aren’t cheap. Compared to the cost of just purchasing the wood and pieces to assemble a raised bed, it’s in the same range. I also considered the time it would take me to cut the wood and assemble it from scratch, so I decided the cost was worth the pre-packaged version.
Overall, I would definitely recommend the Belham Living Cedar Raised Garden Beds. They are so easy to use and well constructed. I can’t wait to harvest some tomatoes, peppers, and carrots from these beds!
Happy gardening!
