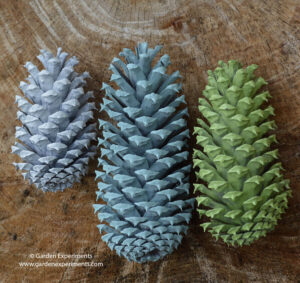
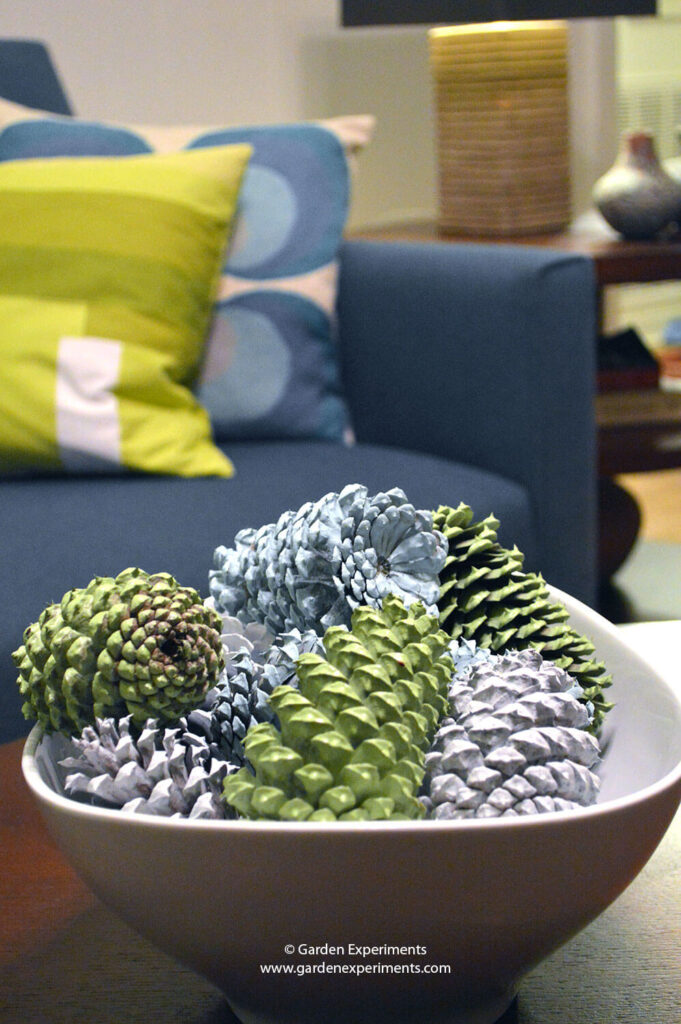
 This is a fun, pretty, and surprisingly easy project that makes a great table decoration. You can make it to match your decor for year-round use or you can pick colors that are holiday-themed. My living room has teal, lime green, and white colors in it, so I selected paint that would coordinate well with my furniture and decorations.
I had fun making this and it was near-instant gratification. The project only takes about 20-30 minutes to complete. You can’t beat that!
What to Do With Pine Cones and Needles
There are three loblolly pine trees in my yard that produce a ton of pine needles and an abundance of pine cones to boot. Every time we get a strong wind, my driveway and lawn are covered. I use the pine needles as mulch and when I’ve used as much as I can, I bag it up and give it away to my friends for their garden.
The pine cones I have been using as a buffer for the spots where the rain comes off of the roof. You can only use so many pine cones for this though, so I’ve been trying to think of other ways to make use of them. So, this is the project that I came up with – and I really like it.
Supplies Needed

- Selection of spray paint (preferably matte)
- Pine cones
- Newspaper
How to Paint the Pine Cones
First, and maybe most importantly, do this outdoors! Whenever you use spray paint, it needs to be in a well-ventilated area. I would also suggest you don’t try and do it when it is windy outdoors or the spray paint just gets on everything.
When you select your pine cones, find ones that aren’t damaged and are full opened. Clean off any stray seeds, pine needles, and spider webs (I had a few with little spiders too) before you spray paint them as the paint makes any dirt stand out more.

I used an old, broken pot to contain the pine cones and the paint, but you could lay down newspaper to prevent paint from getting everywhere. Next, I opened the spray paint cans (they had a plastic seal on them and the nozzle had to be turned to the open position) and shook them vigorously.
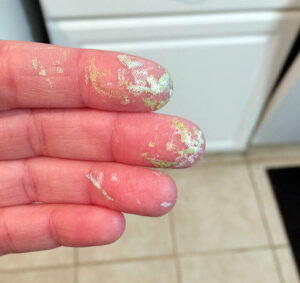
Some of the paint will soak into the pine cones, so for a deeper, richer color, put on a lot of paint. Start spray painting one side of the cone and spray it from the top of the cone and then from the underside for even coverage. Wait a few seconds and then turn the cone and repeat on the next side. Continue turning the cone until it is completely covered with paint. You might get a little paint on your fingers from handling the wet cones, but just hold it gingerly.

Drying the Cones
It took about 20 to 30 minutes for the pine cones to thoroughly dry. Place them on a clean surface, make sure they don’t touch each other, and then leave them to dry. It’s as simple as that!
How to Use the Painted Pine Cones in Your Décor
I placed mine in this modern white bowl, which allows the paint colors to really stand out. However, if you have a glass container, that would also be a great place to add the pine cones. You might even want to throw in a couple of Christmas ball ornaments of matching colors for the holidays. For a more rustic appearance, place the pine cones in a basket. The possibilities really are endless – you’ll just need to try out different options to see what works best with your décor.
I hope you have fun doing this project! I liked the results so much that I sent a photo to my mom of the finished product and I’ll be making some for her house this weekend.
