ORIGINAL POST: 4/22/13
In the hot dry conditions of a Mississippi summer, vegetables and flowers in a planter or raised bed will wilt and require you to water them every couple of days. With a garden the size of ours, that’s a lot of time dragging a hose around. The solution I found was a self-watering raised bed.
This content includes affiliate links. I get a small percentage of the sale for purchases made through links in this post. However, I use each product I review and only recommend those that I like and have worked well. Read my disclosure for more information.
 Raised beds on a gravel base for my herb garden
Terrazza Self-Watering Planter Review
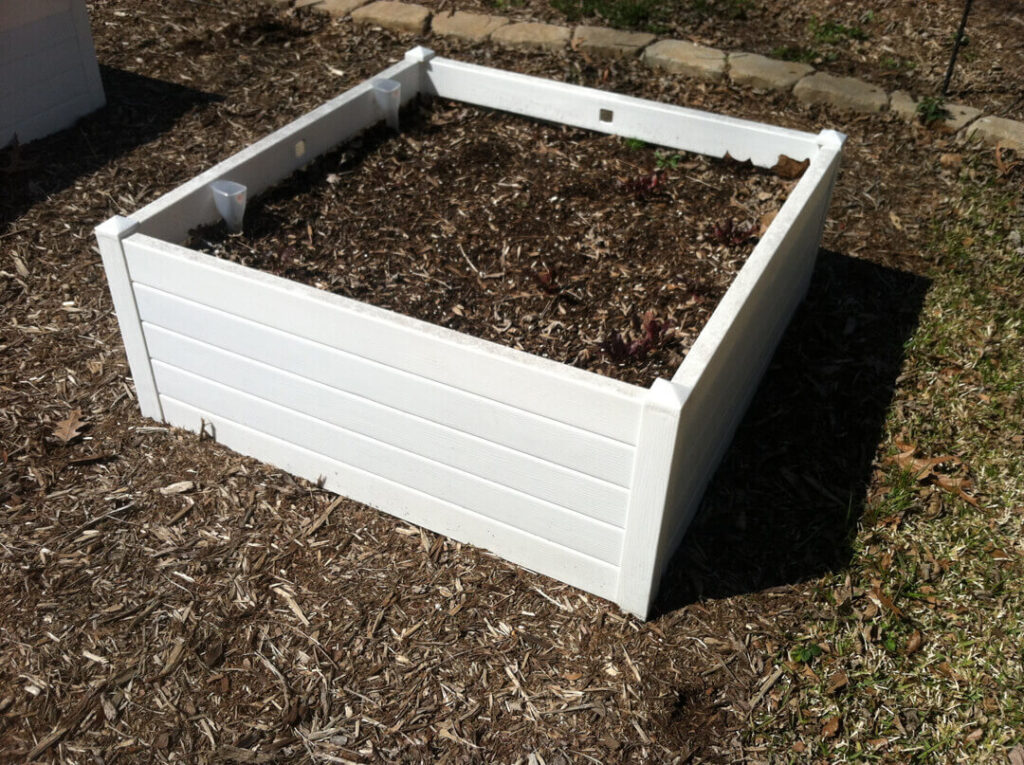
I have six Terrazza Raised Beds by Gardener’s Supply which are self-watering. These have been a lifesaver for reducing the amount of time I have to spend watering in the summer and make it easier for the plants to survive when we are traveling. This doesn’t mean you can stop watering them, but that you can water them less often. Whereas I used to have to water plants in containers about once every two or three days, these self-watering containers allow me to reduce that to more like once a week.
Updated 4/17/17: After four years and two changes in houses, these beds are still holding up really well. They have not cracked or broken (and I even moved some of them with the dirt intact). I would not purchase the white color again – they just get too dirty over the years, but the dark brown or terra cotta colors would be a nice choice. I have misplaced one or two of the spouts as a result of moving, but I can still rely on the self-watering component just by adding water normally.
How to Put Together The Terrazza Raised Bed Planter
I didn’t read the directions very well the first time I put the planter together, so I omitted a very important part – the wicking fabric that draws the water up into the soil. Regardless, the planter still seemed to work well. When I need to empty the bed to move it, I then installed the missing fabric (which I had saved, just in case).
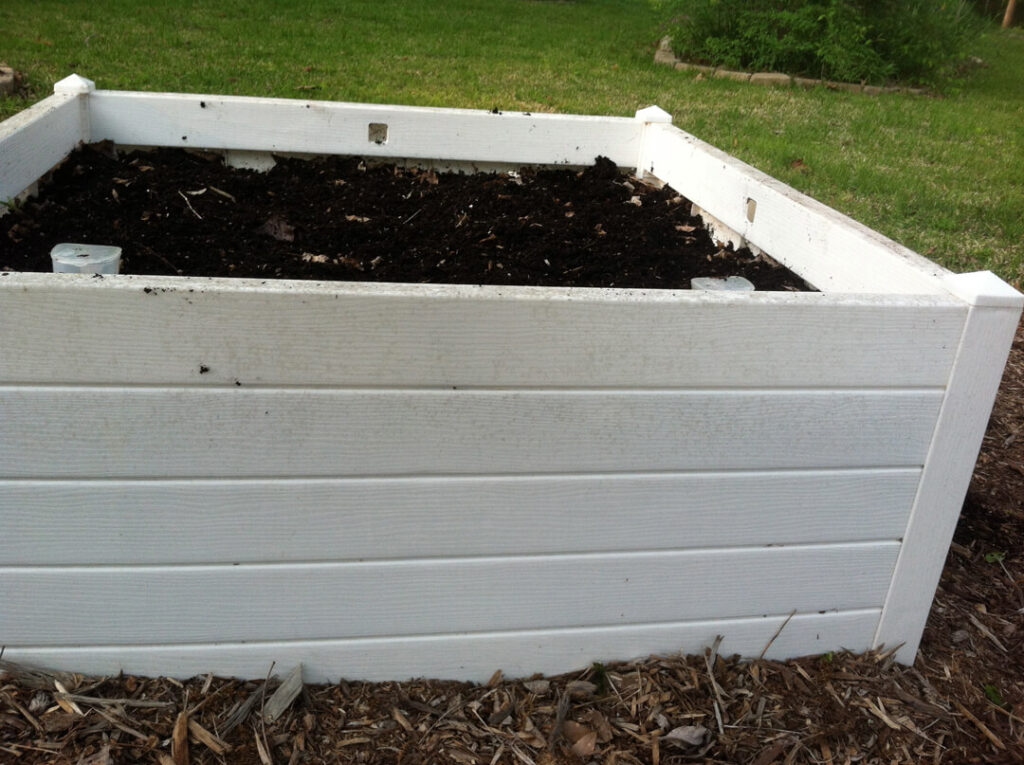
I recommend you do read the instructions carefully – there are several parts and pieces to this raised bed. It isn’t hard to put together and it will take about 20-30 minutes maximum. However I recommend you put it together in the location where it will stay.
While you can move the bed when it’s empty, many of the pieces that you snapped in at the bottom to keep the water reservoir in place will unsnap (and it takes two people to carry it). It’s just easier to not have to move it. You will not be able to move it once it is filled with soil. It is too heavy and the base isn’t strong enough to move when full.
Be sure to have a level with you if you plan to put the raised bed on soil instead of a concrete patio. The water reservoir needs to be level to distribute water evenly through the bed. I have leveled mine out using rocks or stones under corners which needed raising.
What Type of Soil To Use in the Raised Bed
You need to use bagged soil for best results, not dirt from the ground. The lightweight soil will wick the water better and will also allow you to grow root crops. It takes a lot of bags to fill these self-watering container gardens, but you don’t have to fill it all the way to the top. I used Miracle-Gro Moisture Control mix from our local garden store and it took about 5 or 6 large bags.

How The Self-Watering Component Works
The reservoir at the bottom of the container holds several gallons of water. The wicking material (looks like a cotton belt) helps draw the moisture up from the reservoir into the soil. As the soil dries out, it will draw more water from the reservoir.
There is a handy spout where you can add water easily with a hose or watering can. This spout has a small floating gauge in it that shows you when you need to add water. It also has a cap on it to keep dirt (and in our area, mosquitoes) from getting into the water.

You can’t add too much water, so there’s no need to worry about it after heavy rains. The excess water escapes through the base of the reservoir.
Dimensions
I measured one of my raised self-watering garden beds and it’s about 39 inches x 39 inches. The height is approximately 15.5 inches from the base of the reservoir to the top of the bed. It can hold a lot of plants.
Adding a Deer Exclosure

UPDATE 10/20/14: In the second year of using my Terrazza Self-Watering Raised Bed Planters, I started getting visits by a family of deer – a mother and two fawns. They really liked my fresh veggies. I mean, I don’t mind sharing some, but these guys were chowing down on my plants. I devised a deer exclosure out of PVC pipe and bird netting that fit really well over top the raised beds by sliding into the chambers in the corner. It worked pretty darn well! Read my post about these deer exclosures here: How to make a deer exclosure for raised beds.
My Experience
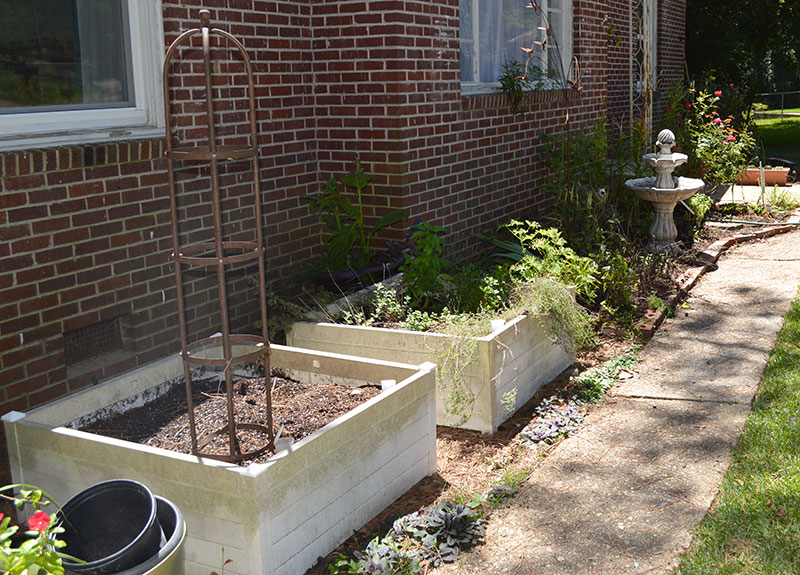
I’ve had two of my self-watering Terraza Raised Beds for three years now. Although they are white, they clean pretty easily and don’t show much wear. I have even emptied and moved two of them.
Two years ago, I planted a pack of cucumber seeds in one (yes, a whole pack). We were traveling for three weeks and asked my parents to look in on the yard every once and a while. It turned out that was at the peak of production for the cucumber plants. My parents picked over 40 cucumbers that summer! And this is after I had already picked another 20 or so before leaving.
These beds are also great for root crops. I have planted both carrots and beets in them for the last two years. I just planted new seeds this past weekend. Again, this is the first time I read the directions on the seed packages. It says to put about 1/2 inch of soil over the seeds. No wonder my beets were always poking up above the soil. Can’t wait for the beets and carrots!
We bought four more to use on my raised herb garden. I planted the seeds this past fall; the plants overwintered very well and are now growing out of control in the raised self-watering beds.
Update – 10/20/14
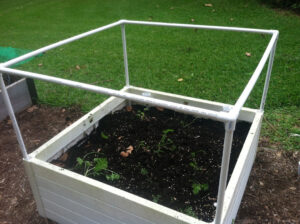
I had a terrible problem with deer browsing my vegetables in these planters, so I constructed a frame with netting to keep them out. The frame was made of PVC pipe and worked really well with these planters since there is a slot that the PVC pipe was able to slide into to keep it in place. You can read more about my deer exclosure here.
I have moved into a new house and was able to take two of the planters with me. I have my herbs in one and some vegetables in the other. Still love the fact that I don’t have to water them much and the ability to easily put netting over them for squirrels and other critters is just great.
Update 2015
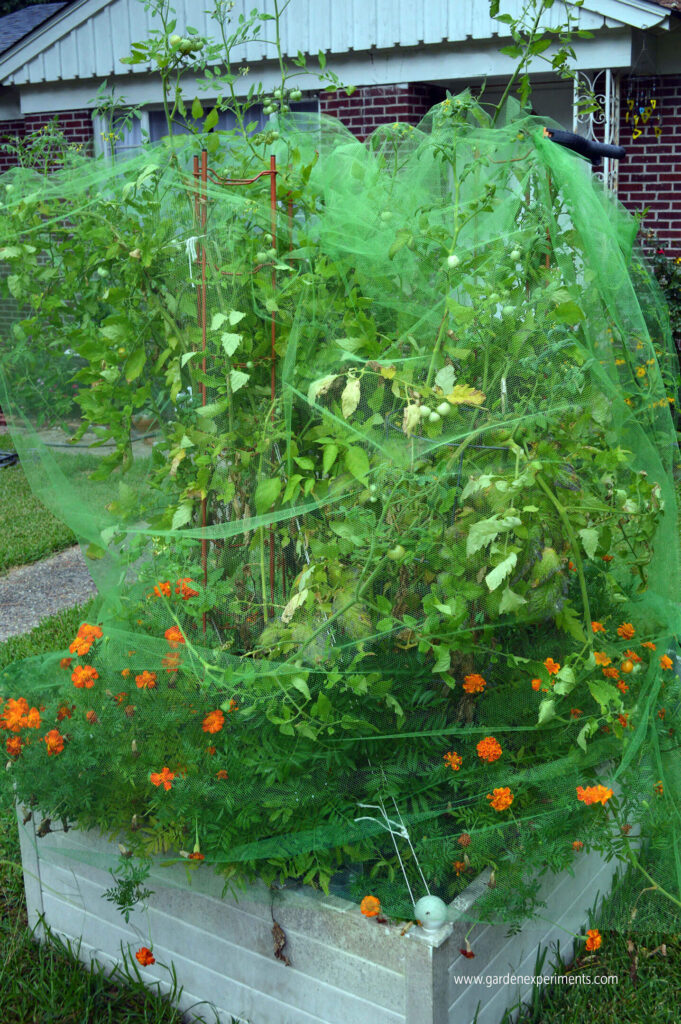
The beds are still going strong. I put in my tomatoes and some marigolds this year and the tomatoes were great! So great that the deer and birds were picking them off. I had to drape everything in tulle to keep them out.
UPDATE 2017
I still have three functioning Terazza beds. The plastic parts on one bed finally cracked this year as I emptied it and tried to move it with a little soil still in it. The plastic is getting a bit brittle and as much as I have moved these, I’m not surprised that this one cracked. I can still use it, and plan to do so. My opinion on this is that the beds will last a lot longer if you don’t move them as much as I have. I have moved them three or four times so far.
